
Install Apache on CentOS

You can get simple and understandable steps to install apache on centos. Before we move into the installation, let’s have a brief look on APACHE WEB SERVER.
What is this Apache Web Server? Let me tell you. Apache Web Server was an open-source web server, widely used for websites because it is having the best compatibility with any website or software packages. Multiple websites can be served through virtual hosting by a single Apache installation.
CentOS is a Community Enterprise Operating System. It is an open-source platform for non-productive developmental work. For production concern, those works can be migrated to RHEL (Payable) Linux distribution platform.
Let’s have a quick look on Apache Web Server features and versions available.
Apache Web Server is a powerful feature including dynamically loadable modules, robust media support, Fault Tolerance and scalable. It supports on Unix like server and Microsoft Window. It has several modules like the proxy module, authentication module, filtering module, etc., It has User and session tracking feature. Also has low latency, high throughput, good consistent and reliable.
Complete Version list of Apache Web Server -> Apache Web Server
Before Installation:
You need to make sure two main configurations are perfect before installation of Apache Web Server
First, Non-root User configuration. The second will be the Firewall Configuration.
These configurations will have
Here We Go:
Let’s start the installation.
First, log-in with the SSH from your instance.
Go to Compute Engine and select VM Instances
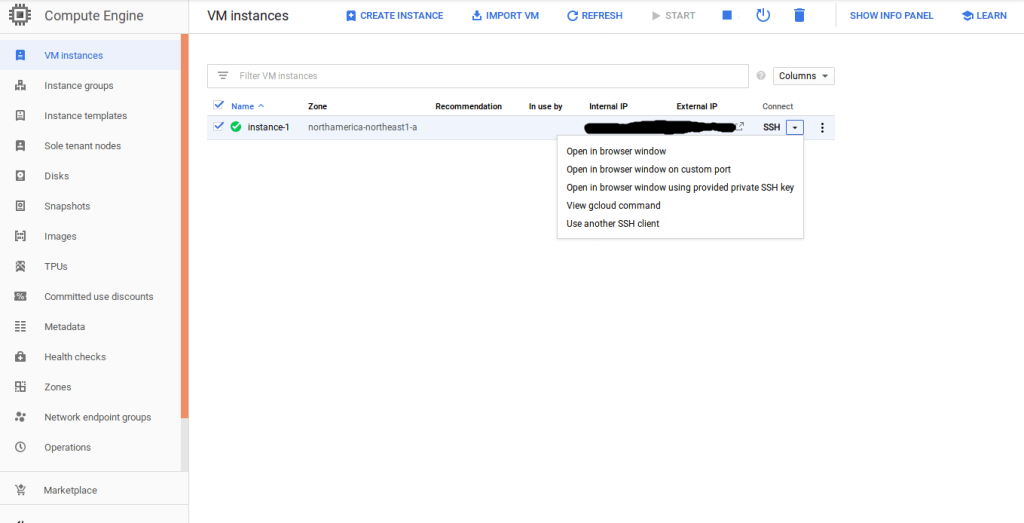
Then click on the browser window, you could see the terminal and start executing the below commands in the mentioned order.
By default, Apache Web Server will be available in CentOS software repositories. To install the updated version of Apache Web Server. Type the below command to update the default package, which already exists. The below command will bring out the latest version.
You should wait for some time, Installation will take time. After the installation complete. Next step will be enabling the package from the updates. You can use the below command to enable the Apache web Service.
Finally, we are going to start the Apache Web Service of the required version. Here we need to start the package manually because the automatic start option will not be present. So to start your Apache Service, apply the below command.
You can also manage the configuration by using the keywords, Start, stop, enable, disable, reload, restart etc.,
Apache Web Service Firewall Test:
You can test the Apache Service, using HTTP and HTTPS ports. If your server was protected by a firewall, you won’t get the default page of Apache Web Server.
You can use the below command to allow HTTP ports for the Apache Service.
Every process in Apache Service will be managed with “
Once you done with the command, to check the installation, you can retry the connection with the IP address.
Now you will be able the view the below Testing page.

Here you go…!! We successfully installed the Apache Web Server on CentOS.
You can now start working on Apache Web Server!!
Today, we learned about the installation of Apache Web server which is acting as base power of 45% websites. We started the installation with prerequisite steps for Apache Web Server. Then we installed the service with
To summarize “What is Apache Web Server”, “Basics of Apache Web Server and CentOS
Hope it helped you in an easy way to install Apache Web Server with more understanding. Please let us know in the comment section if you have any concern.
You can also share with your friends, who need to install Apache Web Server.
Thanks for your time, to know about me.
Hello I Am Vijay Poshiya. 🙂
Here’s My little description of your attention on Me and My blog. I am here to help you with PHP programming. I can give you a cake walkthrough platform where a complex program can make it easier for you. I will also provide you with the rare collections of task sets over the internet.
I hope you will find your solutions in better understanding shape within my blog.
You can read more about PHPAdvices at the “About” page.


Leave a Comment